今天对博客大改造一下,一是域名到期了,阿里云的xyz域名续费一年109 ¥,去隔壁腾讯看了一下三年的顶级域名com.cn也才一百出头,故索性把域名更换了,二是之前用的主题不太习惯,也停更很久了,三是想弄一个游客向的评论系统,于是有了本篇文档。记录一下,免得以后忘记。
操作系统为Windows 11 25H2,An ab-initio construction😄~
安装Node.js
在Windows平台,通过取得管理员权限的PowerShell进行安装,首先允许执行脚本:
1
| set-executionpolicy remotesigned
|
然后安装包管理工具Chocolatey,执行:
1
| powershell -c "irm https://community.chocolatey.org/install.ps1|iex"
|
接着安装Node.js:
1
| choco install nodejs --version="24.13.0"
|
再新开一个终端应该就能看到输出:
1
| node -v # Should print "v24.13.0".
|
1
| npm -v # Should print "11.6.2".
|
安装hexo框架
新建一个目录,安装hexo-cli:
然后初始化:
现在运行hexo -v应该能看到hexo和hexo-cli:
1
2
3
4
5
6
7
8
9
10
11
12
13
14
15
16
17
18
19
20
21
22
23
24
25
26
27
28
29
30
31
32
33
34
35
36
| PS E:\MyNewBlog> hexo init
INFO Cloning hexo-starter https://github.com/hexojs/hexo-starter.git
INFO Install dependencies
INFO Start blogging with Hexo!
PS E:\MyNewBlog> hexo -v
INFO Validating config
hexo: 8.1.1
hexo-cli: 4.3.2
os: win32 10.0.26200 undefined
node: 24.13.0
acorn: 8.15.0
ada: 3.3.0
amaro: 1.1.5
ares: 1.34.6
brotli: 1.1.0
cjs_module_lexer: 2.1.0
cldr: 47.0
icu: 77.1
llhttp: 9.3.0
modules: 137
napi: 10
nbytes: 0.1.1
ncrypto: 0.0.1
nghttp2: 1.67.1
openssl: 3.5.4
simdjson: 4.1.0
simdutf: 6.4.0
sqlite: 3.50.4
tz: 2025b
undici: 7.18.2
unicode: 16.0
uv: 1.51.0
uvwasi: 0.0.23
v8: 13.6.233.17-node.37
zlib: 1.3.1-470d3a2
zstd: 1.5.7
|
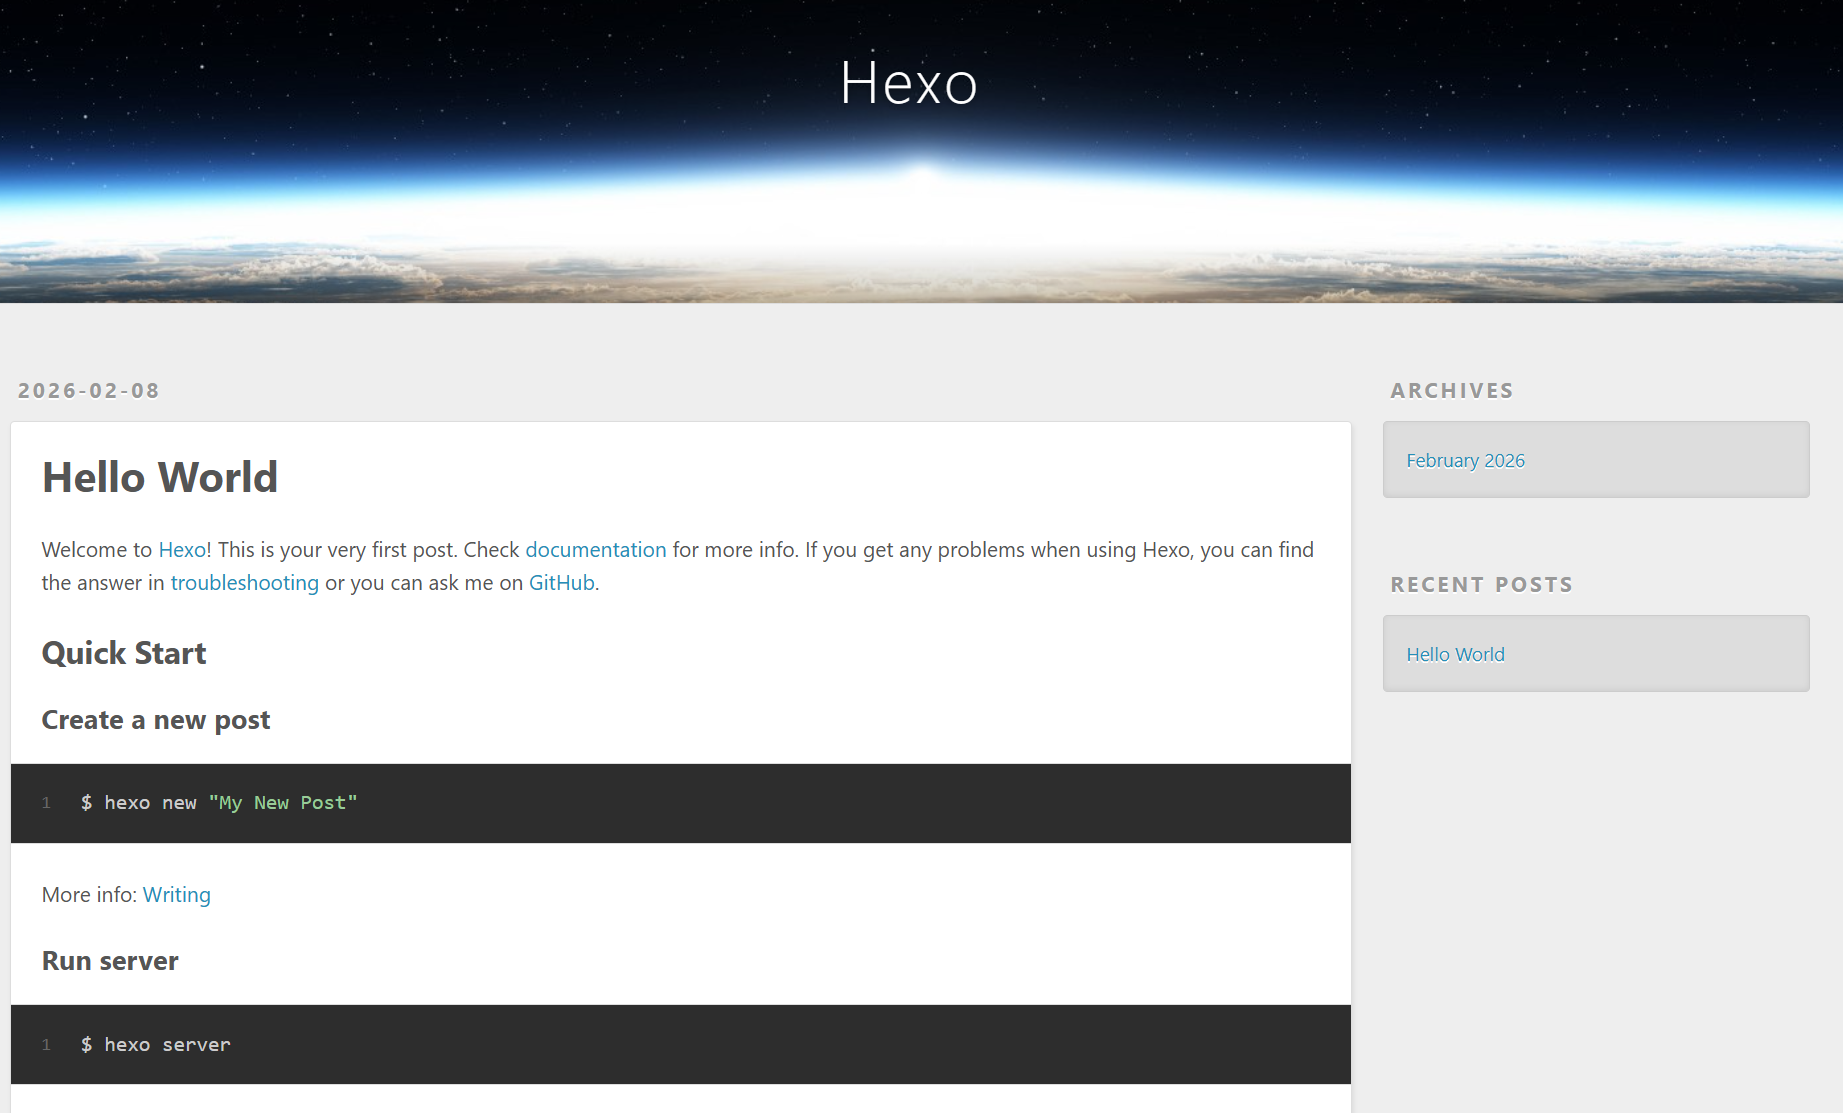
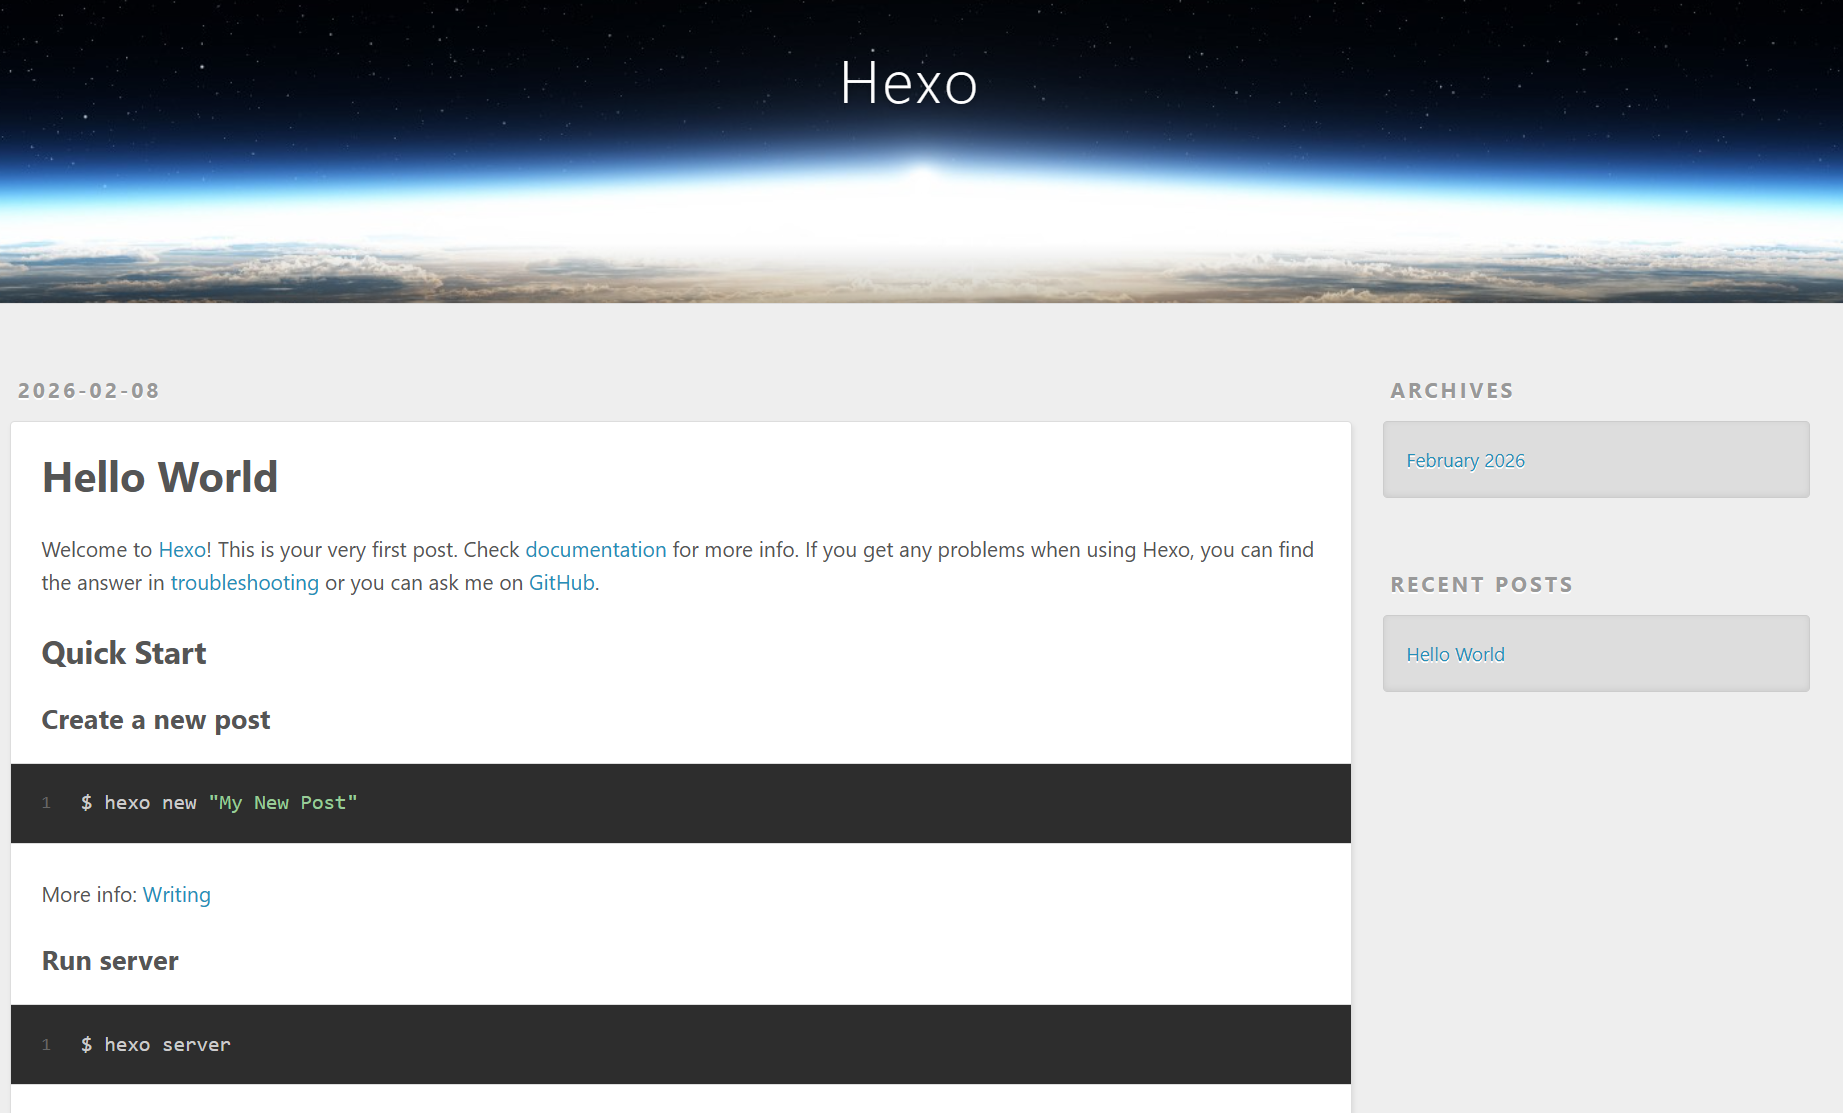
启动测试一下:
应该能正常访问http://localhost:4000/,并看到页面:
安装主题
默认的主题是landscape有些简陋,我这边安装的是蝴蝶🦋主题:
1
| npm install hexo-theme-butterfly hexo-renderer-pug hexo-renderer-stylus --save
|
复制一份主题的配置文件到根目录:
1
| Copy-Item node_modules/hexo-theme-butterfly/_config.yml _config.butterfly.yml
|
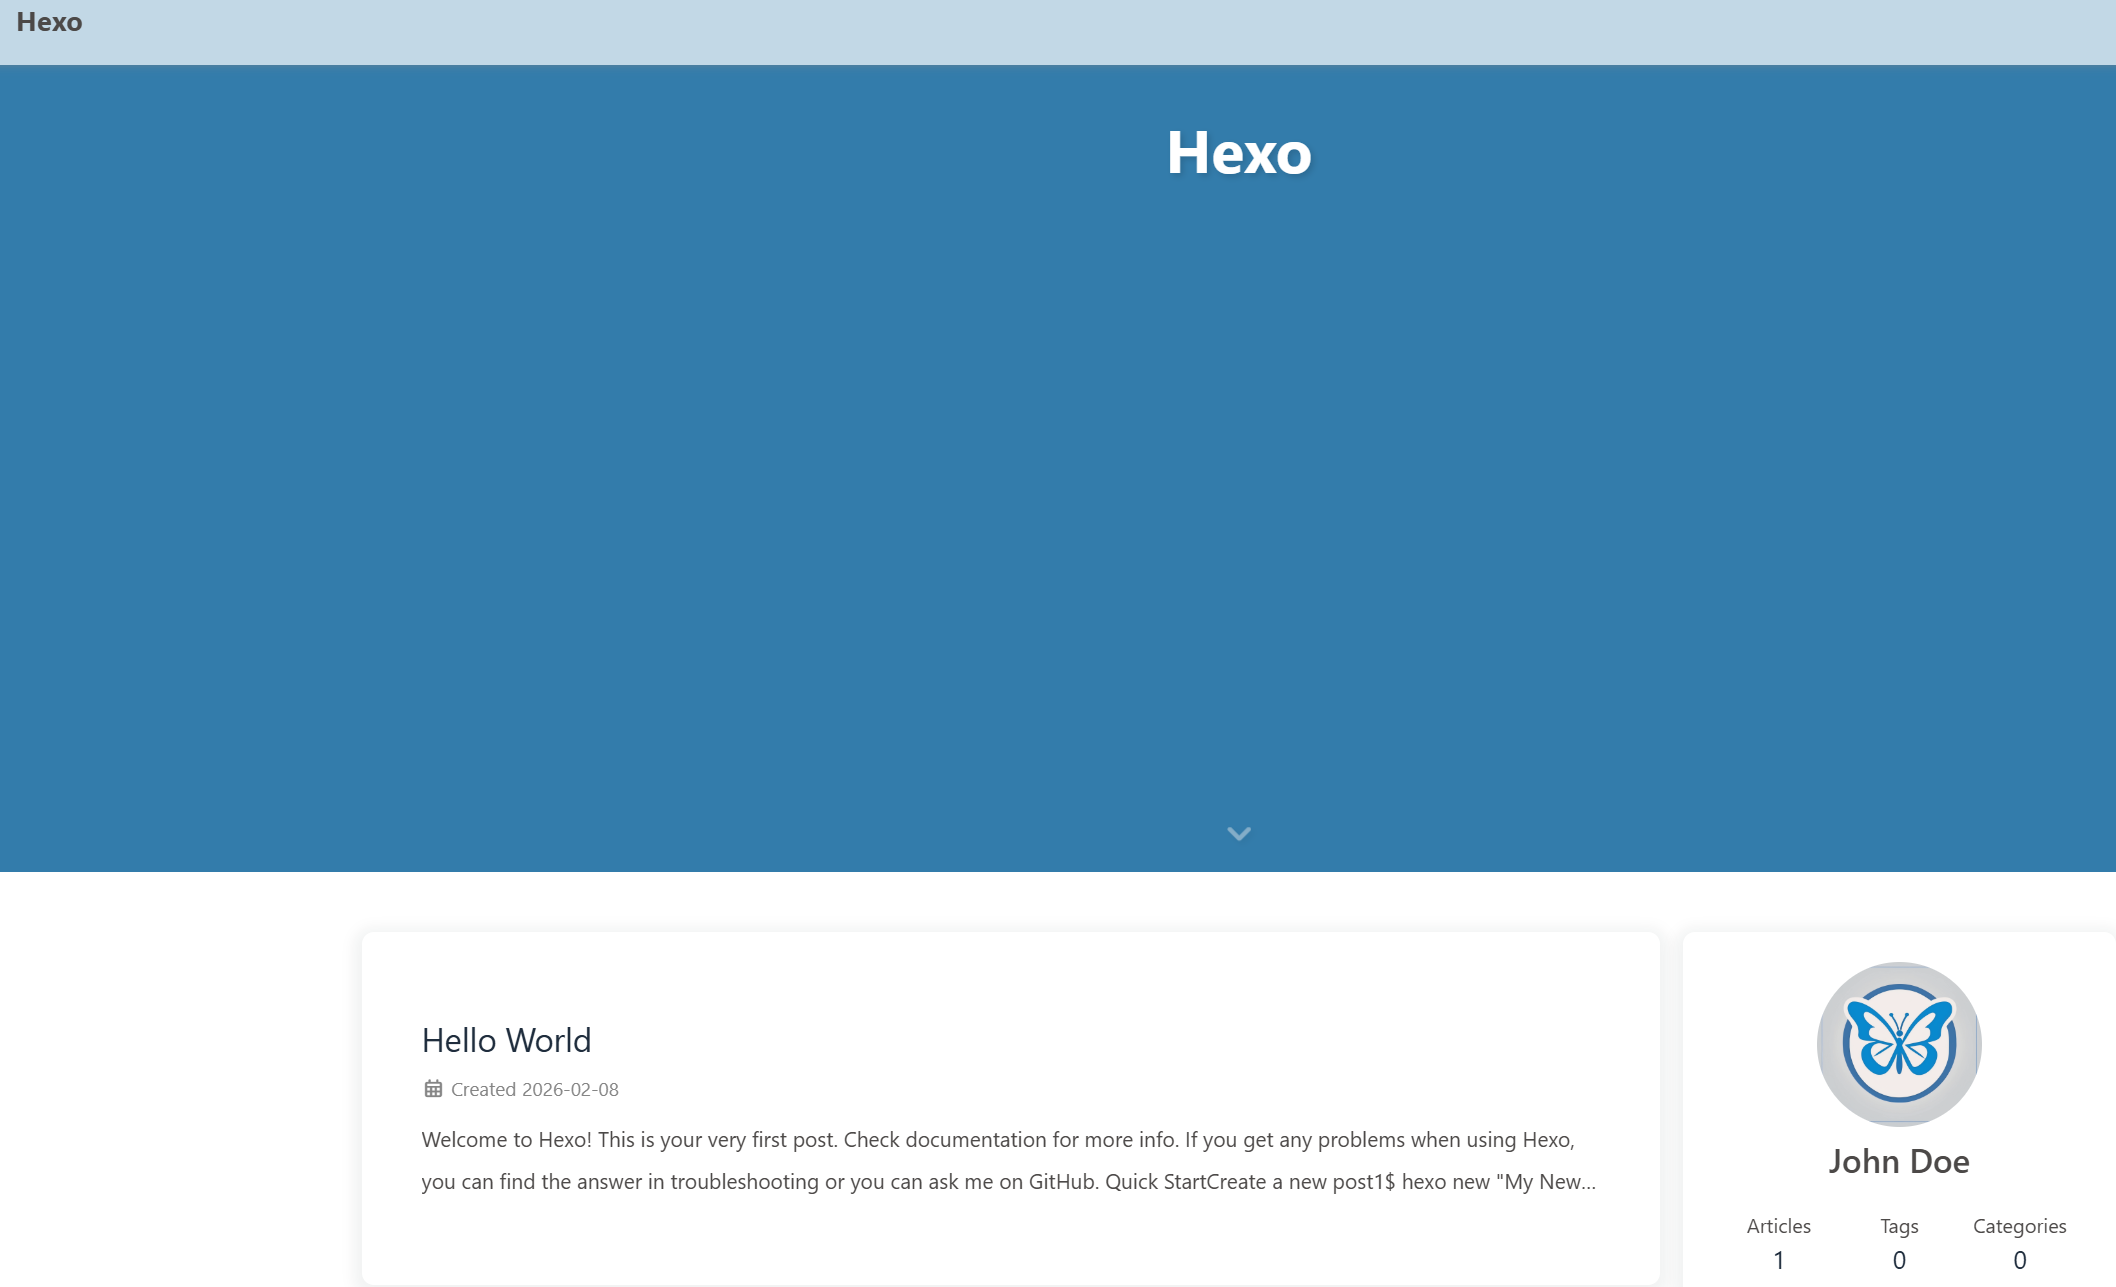
然后编辑根目录下的配置文件_config.yml将主题修改一下,修改后默认的蝴蝶主题界面如下:
更换渲染引擎
写文档的时候难免会遇到一些数学公式,hexo默认的引擎对数学公式支持很差,我们需要把它换掉:
1
| npm uninstall hexo-renderer-marked
|
安装新的引擎:
1
| npm install hexo-renderer-markdown-it markdown-it-mathjax3 markdown-it-emoji markdown-it-container --save
|
我做笔记、写文档用的是obsidian,其中图片的保存依赖于第三方插件custom attachment location,在插件中设置新附件的存放位置为:
在obsidian的文件与链接中设置内部链接类型为:基于当前笔记的相对路径,设置始终更新内部链接,关闭使用wiki链接,这样,新粘贴的图片就会被保存在当前.md文档下同名的目录中
还需要安装一个插件,这个作用我忘记了😢:
1
| npm install hexo-image-link --save**
|
我有个记笔记的习惯用法就是等号高亮,比如:高亮文本;星号斜体,比如:斜体文本,但这并不是标准的markdown语法而是扩展语法,需要安装markdown-it-mark插件:
1
| npm install markdown-it-mark --save
|
最后配置文件_config.yml的部分内容如下:
1
2
3
4
5
6
7
8
9
10
11
12
13
14
15
16
17
18
19
20
21
22
23
24
25
26
27
28
29
30
31
32
33
34
35
|
theme: butterfly
deploy:
type: ''
markdown:
render:
html: true
xhtmlOut: false
breaks: true
linkify: true
typographer: true
quotes: '“”‘’'
plugins:
- markdown-it-mathjax3
- markdown-it-emoji
- markdown-it-container
- markdown-it-mark
anchors:
level: 2
collisionSuffix: ''
permalink: true
permalinkClass: header-anchor
permalinkSymbol: '¶'
image_link:
check_image: true
|
推送到网页
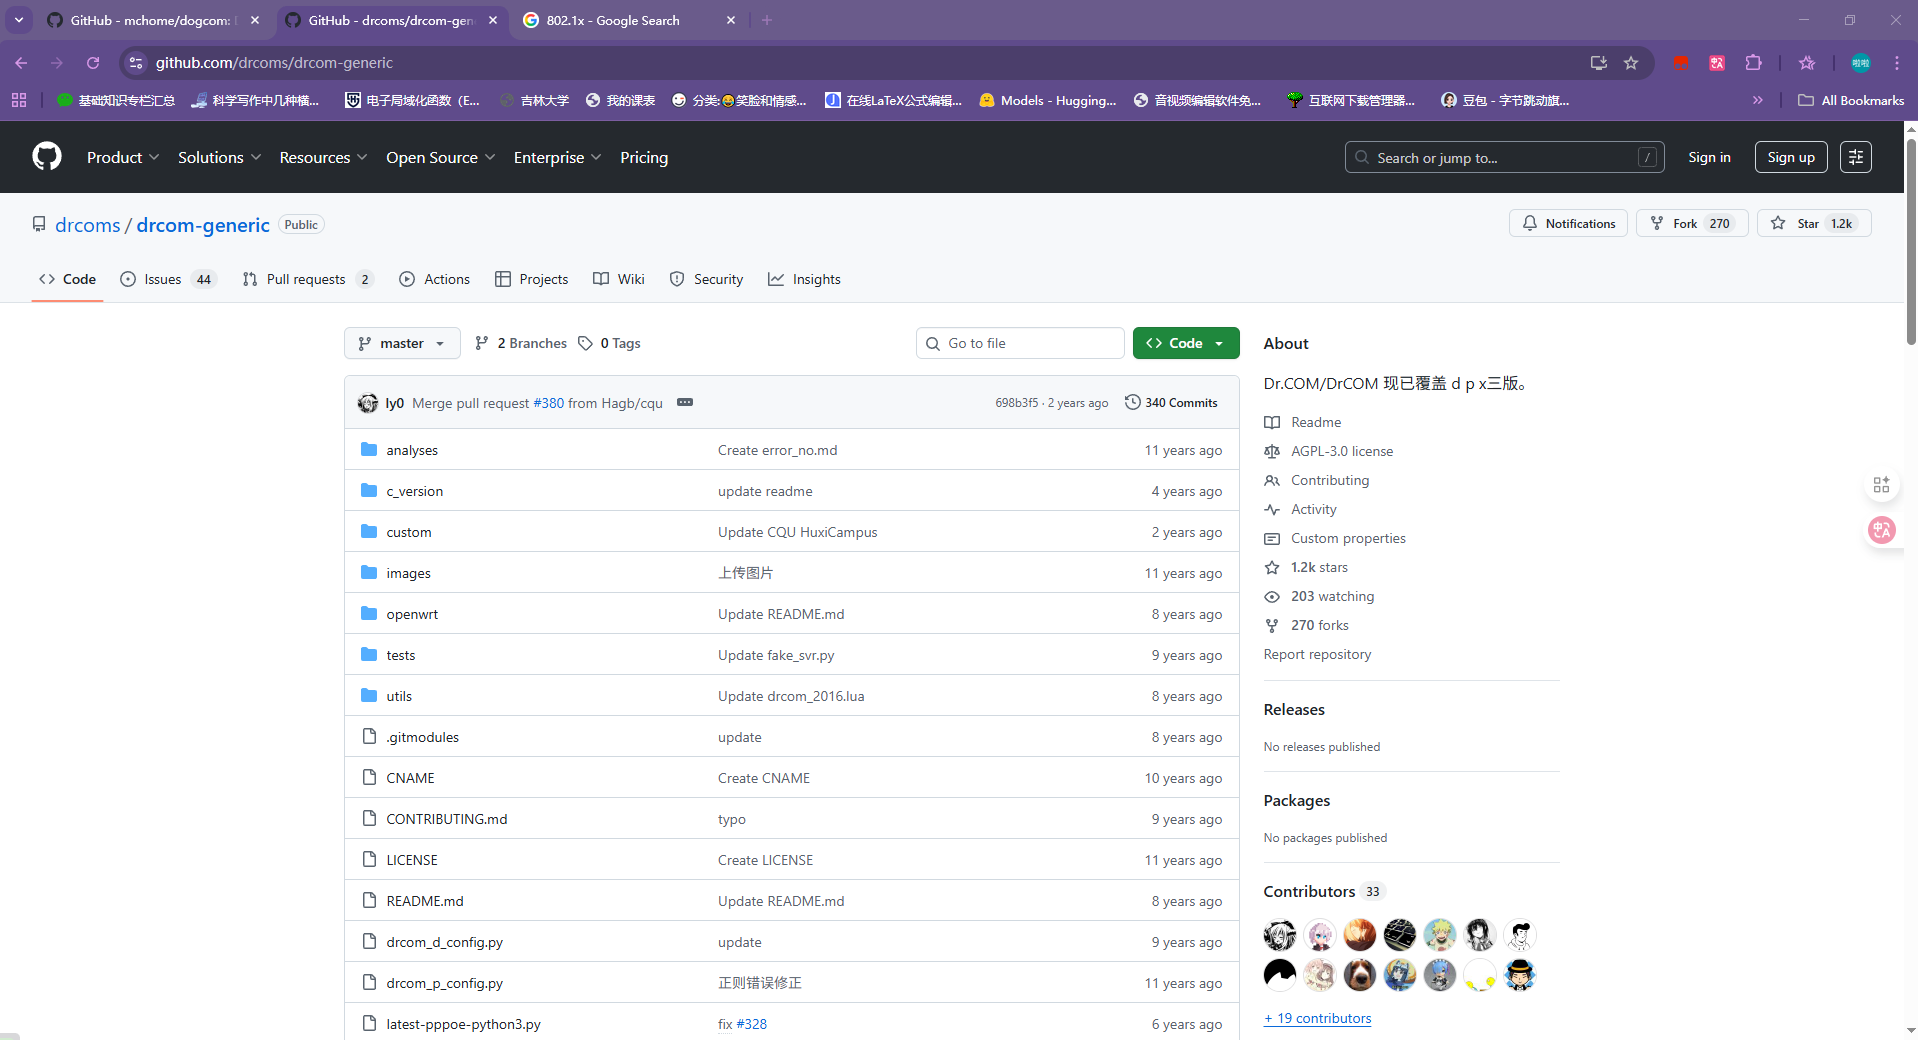
博客依赖于github,当然由于github服务器在国外,所以也不用备案。首先新建一个public(即公开)仓库,命名为XXX.github.io
hexo需要一个专门的插件才能把网页推送到 Git 仓库:
1
| npm install hexo-deployer-git --save
|
然后修改_config.yml配置文件中的deploy部分:
为了让Windows有权限上传文件到 GitHub,我们需要生成一把钥匙(如果提示输入文件名,可按回车跳过;如果提示输入密码,可按回车跳过):
1
| ssh-keygen -t rsa -C email_address
|
接着获取公钥内容,它是以 ssh-rsa 开头的一长串:
1
| Get-Content ~/.ssh/id_rsa.pub
|
然后到GitHub的设置中的SSH and GPG keys,添加新的SSH密钥,即复制刚刚获取的内容,接着验证:
看到 “Hi XXX…” 就说明连上了!

然后执行:
1
| git config --global user.email "email_address"
|
1
| git config --global user.name "username"
|
当前应当能正常发布内容到GitHub:
1
2
3
| hexo clean
hexo g
hexo d
|
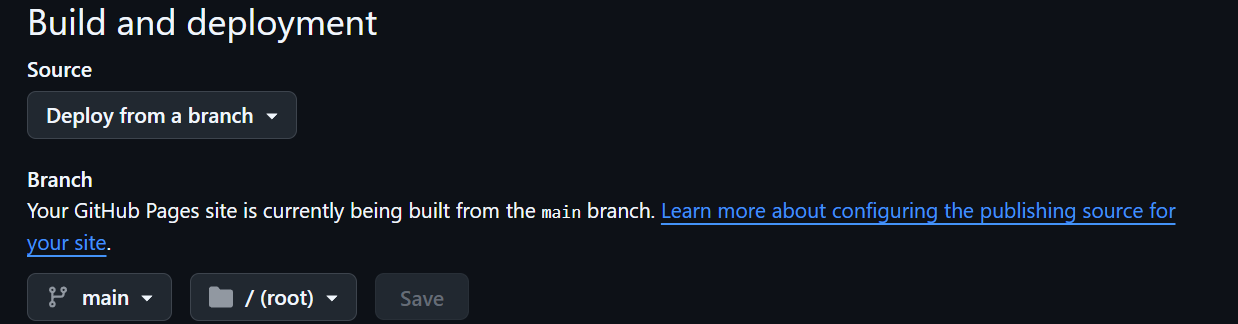
接着在仓库页面的设置里面,找到Pages,Build and deployment来源选择Deploy from a branch,如图设置:
现在您访问https://github_username.github.io/应当能看见博客页面,比如我的博客源地址是:http://hydrogen1222.com.cn/
绑定域名
如您所见,您当前访问的网址可能是http://hydrogen1222.com.cn/而不是GitHub相关的网址,这是因为前者域名给重定向到了GitHub上。
在根目录下的source目录里面新建一个名为CNAME的无后缀文件,内容为:
接下来在域名控制台DNSPod(我在腾讯家买的域名)给域名添加两条记录:
在仓库设置的Page页面的Custom domain选项里填写hydrogen1222.com.cn即可生效。
Twikoo 评论系统
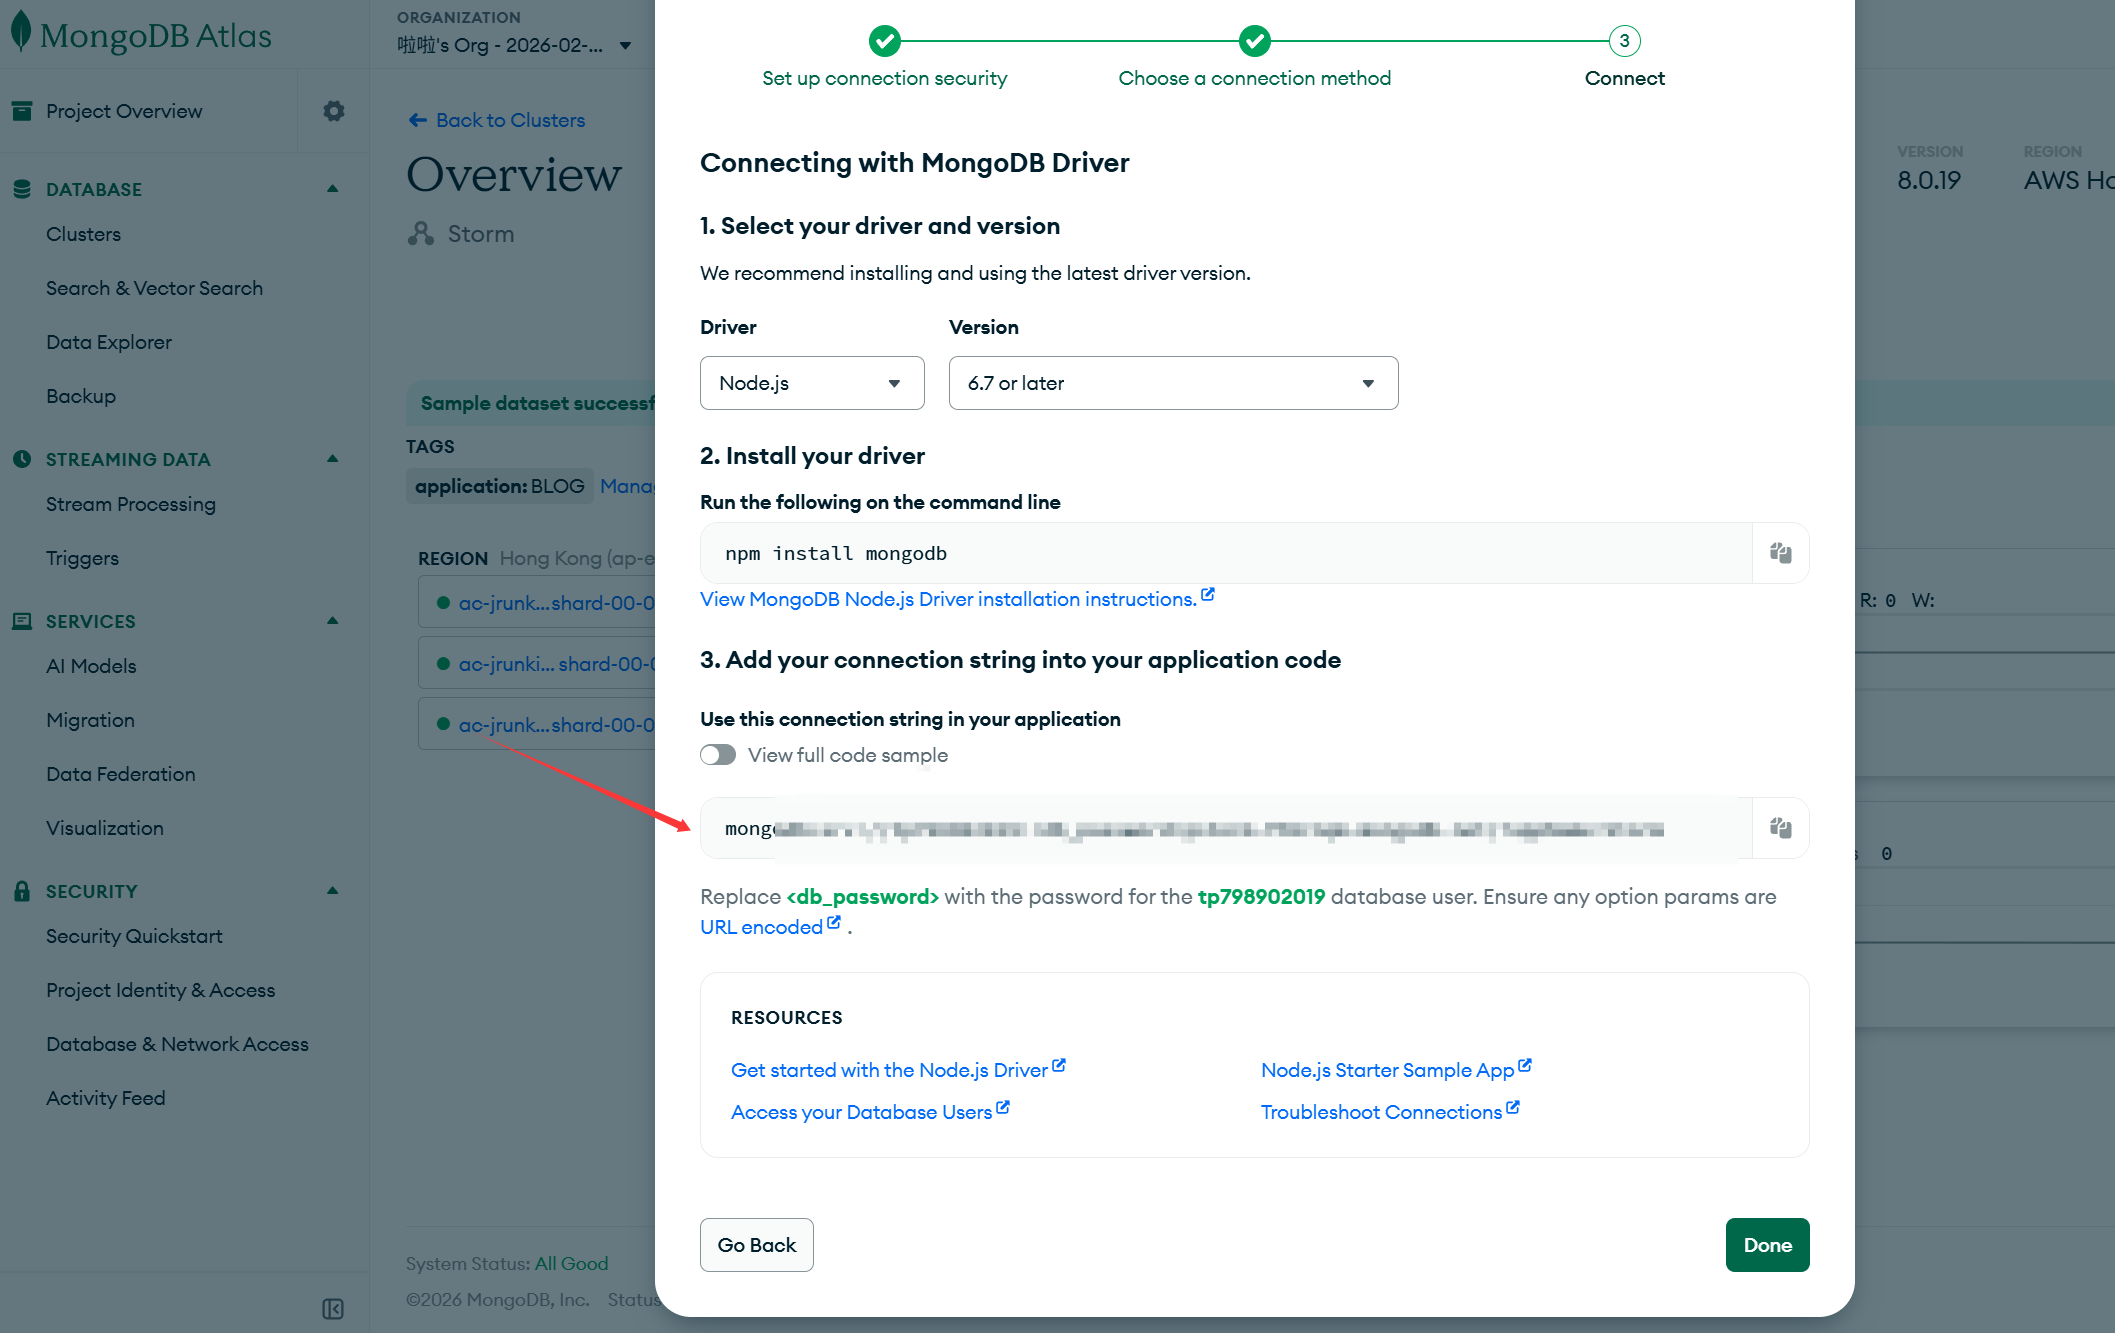
申请免费数据库 (MongoDB)
在Vercel的仓库中再添加一个domain,输入comments.hydrogen1222.com.cn
记得再添加一条解析记录将cname.vercel-dns.com解析到comments.hydrogen1222.com.cn加快访问速度。
编辑蝴蝶主题的配置文件,将comment改成twikoo,添加envId
然后清理、重新编译,再发布就大功告成了。
一些美化调整
- 开启
butterfly的简繁转换功能,默认简体字
_config.yml配置文件中设置语言为zh_CN
中文字体使用落霞文楷,使用在线CDN的方式引入,在蝴蝶主题配置文件中,将inject部分改为:
1
2
3
4
5
| inject:
head:
- <link rel="stylesheet" href="https://cdn.jsdelivr.net/npm/[email protected]/style.css" />
bottom:
|
再添加css样式,新建一个文件source/css/my-font.css
1
2
3
4
5
6
7
8
9
10
11
12
| /* 引入落霞文楷字体 */
@import url('https://cdn.jsdelivr.net/npm/[email protected]/style.css');
/* 强制覆盖字体设置 */
/* 这里的顺序很重要:Times New Roman (英文) -> 落霞文楷 (中文) -> 系统默认 */
body,
h1, h2, h3, h4, h5, h6,
.code-block,
font-family: "Times New Roman", "LXGW WenKai Screen", sans-serif !important;
}
|
然后在蝴蝶主题配置文件的inject中添加:
1
| - <link rel="stylesheet" href="/css/my-font.css" />
|
- 磨砂玻璃特效、深色模式适配、背景图固定、滚动条美化
修改后的CSS如下:
1
2
3
4
5
6
7
8
9
10
11
12
13
14
15
16
17
18
19
20
21
22
23
24
25
26
27
28
29
30
31
32
33
34
35
36
37
38
39
40
41
42
43
44
45
46
47
48
49
50
51
52
53
54
55
56
57
58
59
60
61
62
63
64
65
66
67
68
69
70
71
72
73
74
75
76
77
78
79
| /* =========================================================
1. 字体引入(落霞文楷)
========================================================= */
@import url('https://cdn.jsdelivr.net/npm/[email protected]/style.css');
/* =========================================================
2. 全局字体设置(英文优先 + 中文补充)
========================================================= */
body,
h1, h2, h3, h4, h5, h6,
.code-block,
font-family: "Times New Roman", "LXGW WenKai Screen", sans-serif !important;
}
/* =========================================================
3. 磨砂玻璃卡片效果(亮色模式)
========================================================= */
.layout > .recent-posts .pagination > *,
.layout > div:first-child:not(.recent-posts) {
background: rgba(255, 255, 255, 0.9) !important;
backdrop-filter: blur(10px);
-webkit-backdrop-filter: blur(10px);
box-shadow: 0 4px 12px rgba(0, 0, 0, 0.1);
border: 1px solid rgba(255, 255, 255, 0.3);
border-radius: 12px;
}
/* =========================================================
4. 深色模式适配(磨砂玻璃)
========================================================= */
[data-theme="dark"]
[data-theme="dark"]
[data-theme="dark"] .layout > .recent-posts .pagination > *,
[data-theme="dark"] .layout > div:first-child:not(.recent-posts) {
background: rgba(0, 0, 0, 0.8) !important;
border: 1px solid rgba(255, 255, 255, 0.05);
}
/* =========================================================
5. 背景图固定(增强沉浸感)
========================================================= */
body {
background-attachment: fixed !important;
background-position: center !important;
background-size: cover !important;
}
/* =========================================================
6. 滚动条美化(WebKit 内核)
========================================================= */
::-webkit-scrollbar {
width: 8px;
height: 8px;
}
::-webkit-scrollbar-track {
background: rgba(255, 255, 255, 0.1);
border-radius: 4px;
}
::-webkit-scrollbar-thumb {
background:
border-radius: 4px;
}
::-webkit-scrollbar-thumb:hover {
background:
}
|
剩下的一堆美化操作看官方的文档吧~
为文章添加封面图片
对于我的图片存放形式,可以直接在front-matter写:
由于我之前用的其他主题,没有添加封面,而现在给每篇文章添加封面有些小麻烦,所以让Cluade写了个小脚本,脚本会将有图片的文章的第一张图片cover.xxx复制到目录内并自动编辑front-matter,有dry run干运行模式,内容如下:
1
2
3
4
5
6
7
8
9
10
11
12
13
14
15
16
17
18
19
20
21
22
23
24
25
26
27
28
29
30
31
32
33
34
35
36
37
38
39
40
41
42
43
44
45
46
47
48
49
50
51
52
53
54
55
56
57
58
59
60
61
62
63
64
65
66
67
68
69
70
71
72
73
74
75
76
77
78
79
80
81
82
83
84
85
86
87
88
89
90
91
92
93
94
95
96
97
98
99
100
101
102
103
104
105
106
107
108
109
110
111
112
113
114
115
116
117
118
119
120
121
122
123
124
125
126
127
128
129
130
131
132
133
134
135
136
137
138
139
140
141
142
143
144
145
146
147
148
149
150
151
152
153
154
155
156
157
158
159
160
161
162
163
164
165
166
167
168
169
170
171
172
173
174
175
176
177
178
|
const fs = require('fs');
const path = require('path');
const CONFIG = {
postsDir: './source/_posts',
defaultCover: 'https://s2.loli.net/2026/02/08/OVHtWmMC7B48PeK.jpg',
dryRun: false,
};
function parseFrontMatter(content) {
content = content.replace(/^\uFEFF/, '');
content = content.replace(/\r\n/g, '\n');
const match = content.match(/^[\s]*---\n([\s\S]*?)\n---\n([\s\S]*)$/);
if (!match) return null;
return {
frontMatter: match[1],
body: match[2],
raw: content
};
}
function extractFirstImage(content) {
const imgMatch = content.match(/!\[.*?\]\((.*?\.(?:png|jpg|jpeg|gif|webp|svg))\)/i);
return imgMatch ? imgMatch[1] : null;
}
function updateCoverInFrontMatter(frontMatter, coverValue) {
const lines = frontMatter.split('\n');
let coverFound = false;
const updatedLines = lines.map(line => {
if (line.trim().startsWith('cover:')) {
coverFound = true;
return `cover: ${coverValue}`;
}
return line;
});
if (!coverFound) {
updatedLines.push(`cover: ${coverValue}`);
}
return updatedLines.join('\n');
}
function processFile(filePath) {
const content = fs.readFileSync(filePath, 'utf-8');
const parsed = parseFrontMatter(content);
if (!parsed) {
console.log(`⚠️ 跳过(无 Front-matter): ${path.basename(filePath)}`);
console.log(` 文件开头: ${content.substring(0, 50).replace(/\n/g, '\\n')}`);
return;
}
const fileName = path.basename(filePath, '.md');
const fileDir = path.dirname(filePath);
const assetDir = path.join(fileDir, fileName);
const firstImage = extractFirstImage(parsed.body);
let coverValue = null;
if (firstImage && !firstImage.startsWith('http')) {
let imagePath = firstImage;
if (imagePath.includes('/')) {
imagePath = imagePath.split('/').pop();
}
const possiblePaths = [
path.join(fileDir, firstImage),
path.join(assetDir, imagePath),
path.join(fileDir, decodeURIComponent(firstImage)),
];
let sourceImagePath = null;
for (let p of possiblePaths) {
if (fs.existsSync(p)) {
sourceImagePath = p;
break;
}
}
if (sourceImagePath) {
if (!fs.existsSync(assetDir)) {
if (!CONFIG.dryRun) {
fs.mkdirSync(assetDir, { recursive: true });
}
}
const imageExt = path.extname(sourceImagePath);
const coverFilePath = path.join(assetDir, `cover${imageExt}`);
if (!CONFIG.dryRun) {
fs.copyFileSync(sourceImagePath, coverFilePath);
}
coverValue = `cover${imageExt}`;
console.log(`✓ 复制封面: ${path.basename(filePath)}`);
console.log(` ${firstImage} → ${coverValue}`);
} else {
console.log(`⚠️ 图片不存在: ${firstImage}`);
console.log(` 尝试过的路径:`);
possiblePaths.forEach(p => console.log(` - ${p}`));
}
}
if (!coverValue) {
coverValue = CONFIG.defaultCover;
console.log(`✓ 使用默认封面: ${path.basename(filePath)}`);
}
const newFrontMatter = updateCoverInFrontMatter(parsed.frontMatter, coverValue);
const newContent = `---\n${newFrontMatter}\n---\n${parsed.body}`;
if (!CONFIG.dryRun) {
fs.writeFileSync(filePath, newContent, 'utf-8');
}
}
function processDirectory(dir) {
const items = fs.readdirSync(dir);
items.forEach(item => {
const fullPath = path.join(dir, item);
const stat = fs.statSync(fullPath);
if (stat.isDirectory()) {
processDirectory(fullPath);
} else if (item.endsWith('.md')) {
processFile(fullPath);
}
});
}
console.log('========================================');
console.log('自动添加封面脚本');
console.log(`模式: ${CONFIG.dryRun ? '预览模式(不会实际修改文件)' : '执行模式'}`);
console.log('========================================\n');
processDirectory(CONFIG.postsDir);
console.log('\n========================================');
console.log('完成!');
if (CONFIG.dryRun) {
console.log('这是预览模式,文件未被修改。');
console.log('如需实际执行,请将脚本中 dryRun 改为 false');
}
console.log('========================================');
|
执行node xxx.js即可
2026-04 后续补充:按更新时间排序 + 多级目录可跳转
近期又补了三个和日常写作强相关的点,统一记录一下:
- 最后更新时间改为由文章内容变化自动维护,不依赖 Git 提交记录。
- 首页和侧边栏“最新文章”改为按更新时间排序,方便查看最近修订内容。
- 右侧目录(TOC)改为多级展开,并修复了部分标题“显示但不能点击跳转”的问题。
1) 自动维护 updated(不依赖 Git)
新增脚本:
scripts/auto-updated-by-content.js
机制说明:
- 生成站点时计算每篇文章内容哈希;
- 内容不变则保留原 updated;
- 内容变化则把 updated 更新为当前时间;
- 状态保存在根目录
.hexo-updated-cache.json(已加入 .gitignore)。
2) 按更新时间排序
_config.yml:
1
2
3
4
| index_generator:
path: ''
per_page: 10
order_by: -updated
|
_config.butterfly.yml:
1
2
3
4
5
| aside:
card_recent_post:
enable: true
limit: 5
sort: updated
|
3) 右侧目录多级可跳转
_config.butterfly.yml:
1
2
3
4
5
| toc:
post: true
page: false
number: true
expand: true
|
新增脚本:
并在主题注入中加载:
1
2
3
| inject:
bottom:
- <script defer src="/js/toc-h1-fix.js?v=20260412b"></script>
|
这个脚本会在页面加载/PJAX切换后自动修复目录锚点映射,确保 # / ## / ### 各级标题都能点击跳转。